
The Progressive Slap-and-Fold Technique
A look at different ways to develop bread dough by hand—and the way I like to do it.

Last Updated: 3/6/2024
We develop bread dough during mixing and bulk fermentation to prevent ourselves from baking a shapeless, unstructured mass, and in practice, there are a number of effective and not so effective ways to do this by hand.1
Naturally, each approach has benefits and drawbacks. How much time and labor are required up front? And will I need to return to my dough every so often to do something? Are there ways to do this that will accommodate my schedule?
Let’s take a look at some of the options we have, and I’ll give you the things I like and don’t like about each. Afterwards, I’ll share the way I like to develop bread dough.
Time
When you mix flour and water, gluten begins to form and it continues to strengthen over time. Water also activates the enzyme protease in the flour, which continues to work throughout the lifecycle of your fermentation to degrade the gluten and allow your dough to be extensible2. Acid contributed by your sourdough starter will also strengthen your dough before it eventually weakens it. You want dough that is neither too strong nor too relaxed, and appropriately full of air and flavors that are the byproduct of sourdough fermentation. The art of sourdough bread is in achieving this brief window where everything is perfect. If you find it, your dough will really pop when it hits the oven and the flavors will pop while you’re eating the finished product.
Why I Like it: Zero effort. You get gluten development for free.
Why I Don’t Like It: Dough development is not just about forming gluten, but organizing it. Without some sort of repetitive/mechanical motion during mixing or fermentation, we’ll be able to produce a decent loaf but not a great loaf given enough time. Volume and texture will be lacking.
Kneading
You know what kneading is.
Why I Like It: Extremely effective. Fully develops dough without sacrificing extensibility.
Why I Don’t Like It: Labor intensive and time consuming. Kneading doesn’t work with wet, sticky dough.
Stretch-and-Folds
Stretch-and-folds are a category of manual movements that are meant to strengthen a dough periodically during bulk fermentation instead of up front during mixing. The different types of stretch-and-folds organize your gluten network to varying degrees without being too vigorous.
Included in this category are coil folds (see below), bowl folds, four-edge folds, and any other movements that may be done either directly in a proofing container, or briefly on a work surface before returning the dough mass back to its proofing container.
Why I Like It: Minimal effort, scales to all dough volumes and hydrations.
Why I Don’t Like It: You might need to fold your dough 4-6 times over a period of hours to develop strength, which requires you to be there on an interval. Doing this too late into bulk fermentation favors strength over extensibility. I like a dough that is both well-developed and relaxed.
Laminations
As far as I can tell, this method was popularized by the Instagram account Full Proof Baking during the Pandemic, though I am not sure who originated it.
Watch beginning around the 7 minute mark:
This action mimics what happens to croissant dough to fold in butter and can be used to add inclusions to your bread, such as nuts, seeds, and olives. It’s typically done shortly after mixing and before significant gas development. It’s an extremely vigorous and effective method that develops a lot of strength quickly.
Benefit: Low effort, only needs to be done once. Works well with wetter doughs.
Why I Don’t Like It: Cannot be done easily at home with a large amount of dough.
Rubaud Method
This hand mixing method was popularized by the late Vermont-based French baker Gerard Rubaud via Trevor Jay Wilson. It mimics the action of a single diving arm mixer. Diving arm mixers are more popular in Europe than the US, and mimic the gentle motion of single hand mixing.3
Why I Like It: Clean and effective. Fully develops dough without sacrificing extensibility.
Why I Don’t Like It: Labor intensive and only works with doughs hydrated at >= 73%. This’ll really tire out one arm.
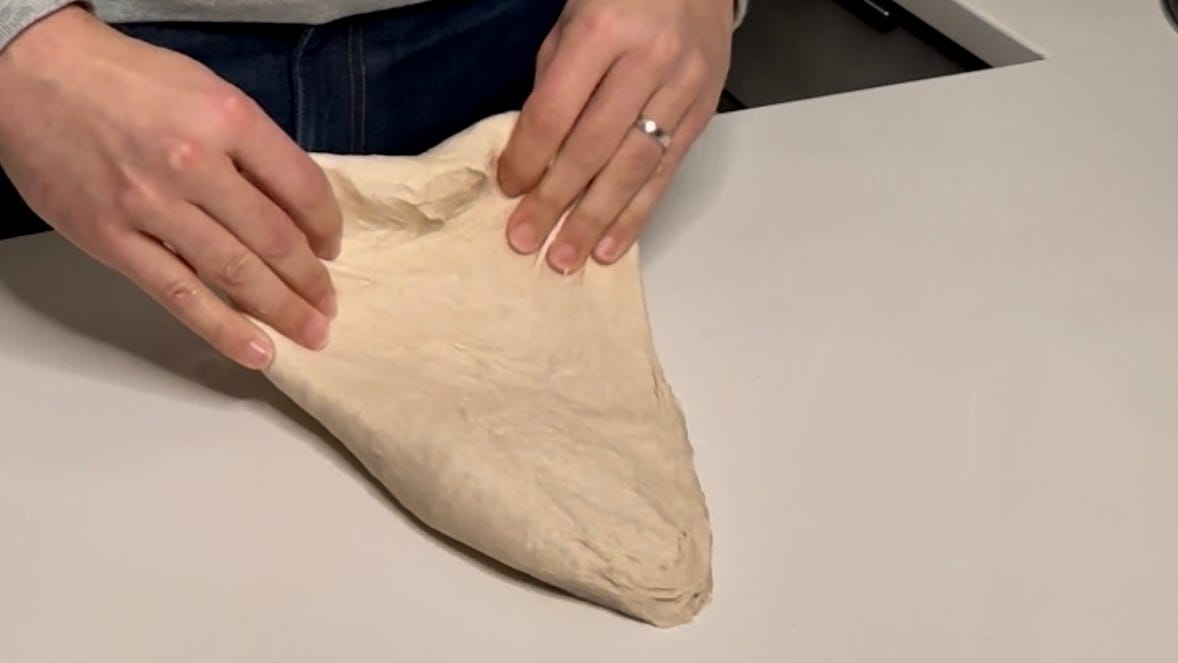
Slap-and-Folds
Popularized by French/British baker Richard Bertinet, this method mimics a twin diving arm mixer. At the end of this process, your dough mass should be smooth, no longer sticky, and somewhat taught, just as though you had kneaded it.
Why I Like It: Extremely effective. Fully develops dough without sacrificing extensibility. Works even better than the Rubaud method and you can get away with not folding your dough at all during bulk fermentation. Works to varying degrees of success with doughs hydrated >= 70% hydration, which is all of the ones I tend to make. Significantly less labor-intensive than the Rubaud Method because you use two arms instead of one and you get an assist from gravity.
Bertinent is a little precious about maintaining a single smooth surface and never breaking it, but in practice, this is unnecessary.4 Your dough may break apart and come back together several times during this process, so just keep going. You can flip the dough over and work on a different part of your dough, too, if you’re worried you’re overworking it. You’ll know it’s time to stop when all sides of the dough are a cohesive, smooth mass.
Why I Don’t Like It: Slightly messier than other methods. Takes as much active time as the Rubaud method.
The Progressive Slap-and-Fold Method
This is a method I developed after reading Bread Book by Chad Robertson and Jennifer Latham. In it, they mention that they use a twin diving arm mixer at Tartine Bakery and will mix their extremely wet doughs in the following manner: 3 minutes on, 3 minutes off, 3 minutes on, 3 minutes off, 3 minutes on.
To translate their technique for home bakers, they recommend doing bowl folds for the same duration and pattern. In practice, I’ve found this to be overkill for stiff doughs and you will still need to do folds during bulk fermentation. And I’ve found it to be less effective for wet doughs than some of the above methods.
But what if we used some of the effective techniques above but included similar progressive timing? A period of rest, followed by mixing until the dough tells us to stop, and repeating until the dough ball is smooth, no longer sticky, and taut?
In practice, this works wonderfully.
For doughs in the 70 - 75% hydration range, you can follow the instructions in my recipe for Ambient Sourdough Bread: Wait five minutes, slap and fold your dough for two minutes, and repeat this cycle 1 to 2 more times over the course of 15 minutes.5 At the end of this cycle, round your dough back into a taught ball and place back in your mixing bowl. You will not need to do any folds during bulk fermentation to produce great results, but you still can: for wetter doughs, or when you are fermenting your doughs in areas where the temperature is inconsistent, a stretch-and-fold or two during bulk fermentation is recommended.
This technique will save you a few minutes of effort versus traditional slap and folds but takes more time in total. You can decide if that’s a trade-off you want to make.
Give it a try and let me know what you think.
Happy baking!
This post may contain affiliate links. If you click an affiliate link and buy a product mentioned, it will directly support Existential Bread.
If you ask Instagram, there are two.
Stretchy.
If you’re paying attention, that’s two methods that are attempting to mimic each other, but I think it’s safe to say that hand mixing came first.
Bertinet is based in Europe where flours are softer, so your doughs won’t behave like his anyway.
A fourth round at 20 minutes won’t hurt if your dough feels like it needs it.